

How to use n8n for free forever without subscription
Step-by-step instruction on how to use n8n for free forever without subscription. We will be teaching you how to install n8n on your local machine


How to install n8n on your local machine
🪟 For Windows:
What you’re doing (in plain language)
You will install Docker, which is a tool that runs apps in a “box” (container) so everything works the same on every computer. Then you’ll start n8n with one command.
Step 1 — Install Docker Desktop
Open your browser and search: “Docker Desktop for Windows install”. Go to the first result or just follow this link https://docs.docker.com/desktop/setup/install/windows-install/.
Click "Docker Desktop for Windows - x86_64". Docker Desktop will be downloaded into your computer.

Run the installer.
During installation, if you see an option like “Use WSL 2 instead of Hyper-V”, leave it enabled (recommended).
After install, restart your PC if it asks you to.
Step 2 — Confirm Docker is running
Open Docker Desktop from the Start Menu. If it asks you to sign in, skip it. You don't need to sign in to Docker to run it on your computer.
Wait until it says something like “Docker is running” (green / ready status).
Keep its window tab open. It should look like this:
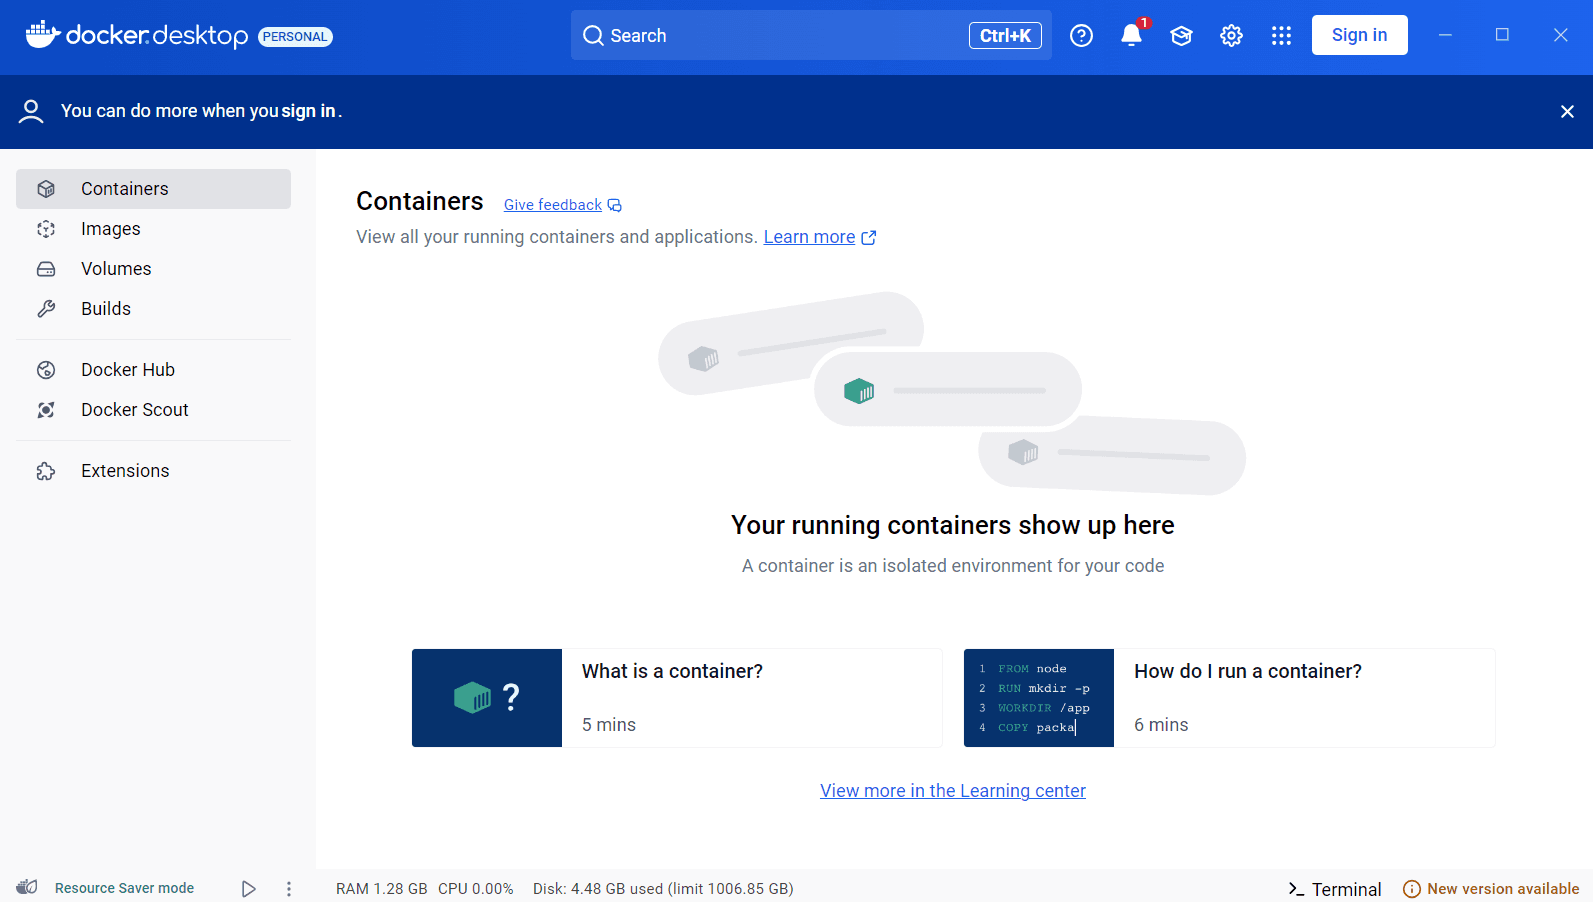
Docker desktop should always be open on the background in order to run n8n.
Step 3 — Create a folder for n8n (to keep your data)
Open File Explorer
Create a folder named n8n, for example in:
C:\Users\<yourusername>
Step 4 — Open PowerShell and go to that folder
Run Windows + R shortcut to instantly open the Run dialog box. Type "powershell":
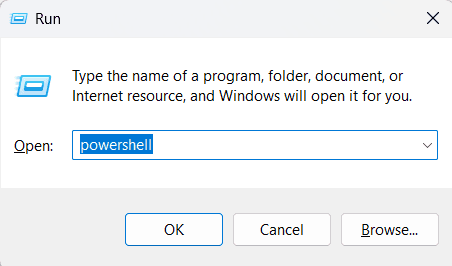
OR
just search for Windows Powershell in your search bar and open it.
You should land exactly on
C:\Users\<yourusername>. Type cd n8n and you go to the n8n folder you just created:
Step 5 — Create a docker-compose file (the “start recipe”)
In PowerShell, run:
Notepad or some other editor will open. Paste exactly this:
Save and close Notepad.
Step 6 — Start n8n
Back in the same PowerShell window , run:
What this means:
docker compose= uses your recipe fileup= start it-d= run it in the background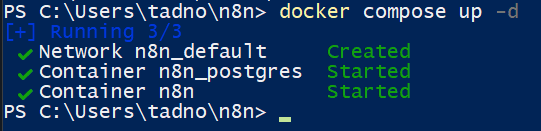
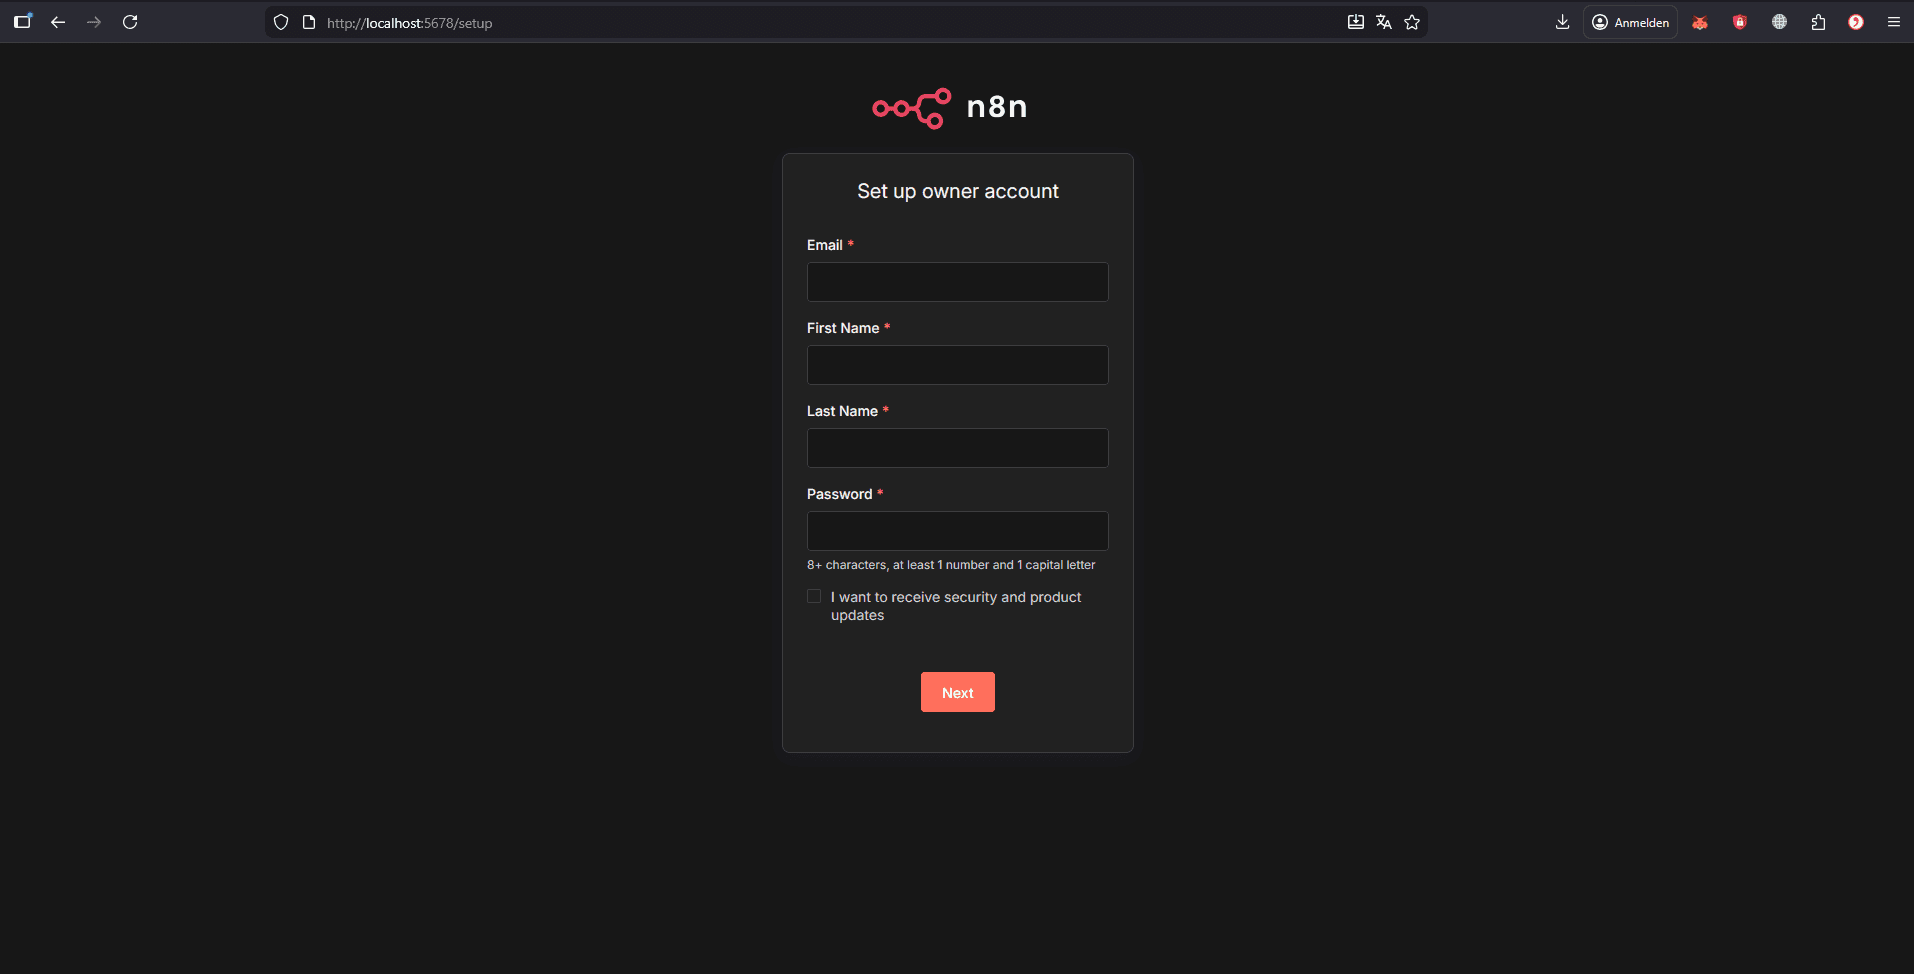
Step 7 — Open n8n in your browser
Open your browser and go to:
http://localhost:5678
You should see the n8n setup screen.
Step 8 — Stop / Start later (important)
To stop n8n:
To start it again later:
Step 9 — Update n8n later (optional)
To update to the newest version:
Step 10 — If localhost:5678 doesn’t open (quick checks)
Run these in PowerShell:
Check if container runs:
See logs (what n8n says):
If port 5678 is busy (rare), change "5678:5678" to "5679:5678" in the file and then open:
http://localhost:5679
That's it. Now you can set up your owner account and enjoy building your n8n workflows! ;)
P.S. Useful links with n8n documentation on this topic: https://docs.n8n.io/, https://docs.n8n.io/hosting/
🍏 For Mac IOS:
1. Install Docker (Apple Silicon or Intel version)
Download Docker Desktop for Mac (Apple Silicon)
Install it, open it, wait until it says “Docker is running”.
2. Create a folder for n8n
Open Terminal and run:
This keeps your data persistent (so you don’t lose workflows).
3) Create docker-compose.yml
Create the file:
Paste this YAML:
Save & exit nano:
Save: Ctrl + O, then Enter
Exit: Ctrl + X
(Important: it’s Control, not Command.)
4) Start n8n
Still inside ~/n8n, run:
5) Open n8n
Open this in your browser:
That’s it — n8n is running locally.
For your daily usage:
Make sure Docker is running before you turn on n8n
Tip: In Docker Desktop settings, enable “Start Docker Desktop when you log in” so it auto-starts.
Open n8n
Just open:
Because the compose file uses restart: always, n8n will auto-restart whenever Docker is running.
Start n8n (if it’s not running)
Stop n8n
That's it. Now you can set up your owner account and enjoy building your n8n workflows! ;)
P.S. Useful links with n8n documentation on this topic: https://docs.n8n.io/, https://docs.n8n.io/hosting/